Wednesday, August 3, 2011

Sweet Potato Muffins

Sweet Potato Dark Chocolate Chip Coconut Muffins

I had a lot of sweet potatoes in my house! When I say a lot I mean probably like 8! I have never had sweet potatoes in baked goods. Normally when I cook them on my own its with Rosemary, Salt, Pepper, Garlic, etc, mostly savory. Therefore, I wanted to try something different. I love the website FANNETASTIC FOOD and the creator Anne, has a lot of sweet potato recipes. Therefore, I took one of her recipes and changed it up a bit.

Problem was I had NO sweet potato puree and every recipe calls for the canned version. Therefore, I decided to create my own sweet potato puree. I took about four sweet potatoes and sliced them and threw them into the oven. They baked for about 25 minutes at 350 degrees. You want them really soft!


Once the potatoes are finished (left) I placed them with the skin on in my food processor (right.)
I added a tbsp of light pancake syrup to the puree to give the sweet potatoes some extra sweetness and to loosen it up from the sides. Looks delicious!  


Next I mixed all the dry ingredients in a bowl.

1 1/2 cup whole wheat pastry flour
1/2 cup brown sugar
1/4 ground golden flax meal
1 tbsp pumpkin pie spice
1/2 tsp salt
1/2 tsp baking soda  


Next I mixed the wet ingredients in a bowl:
1 cup pureed sweet potato
1/4 cup dark chocolate chips
1/4 cup nonfat greek yogurt
1/2 cup skim milk
1/4 cup unsweetened applesauce
1/4 cup coconut
2 eggs

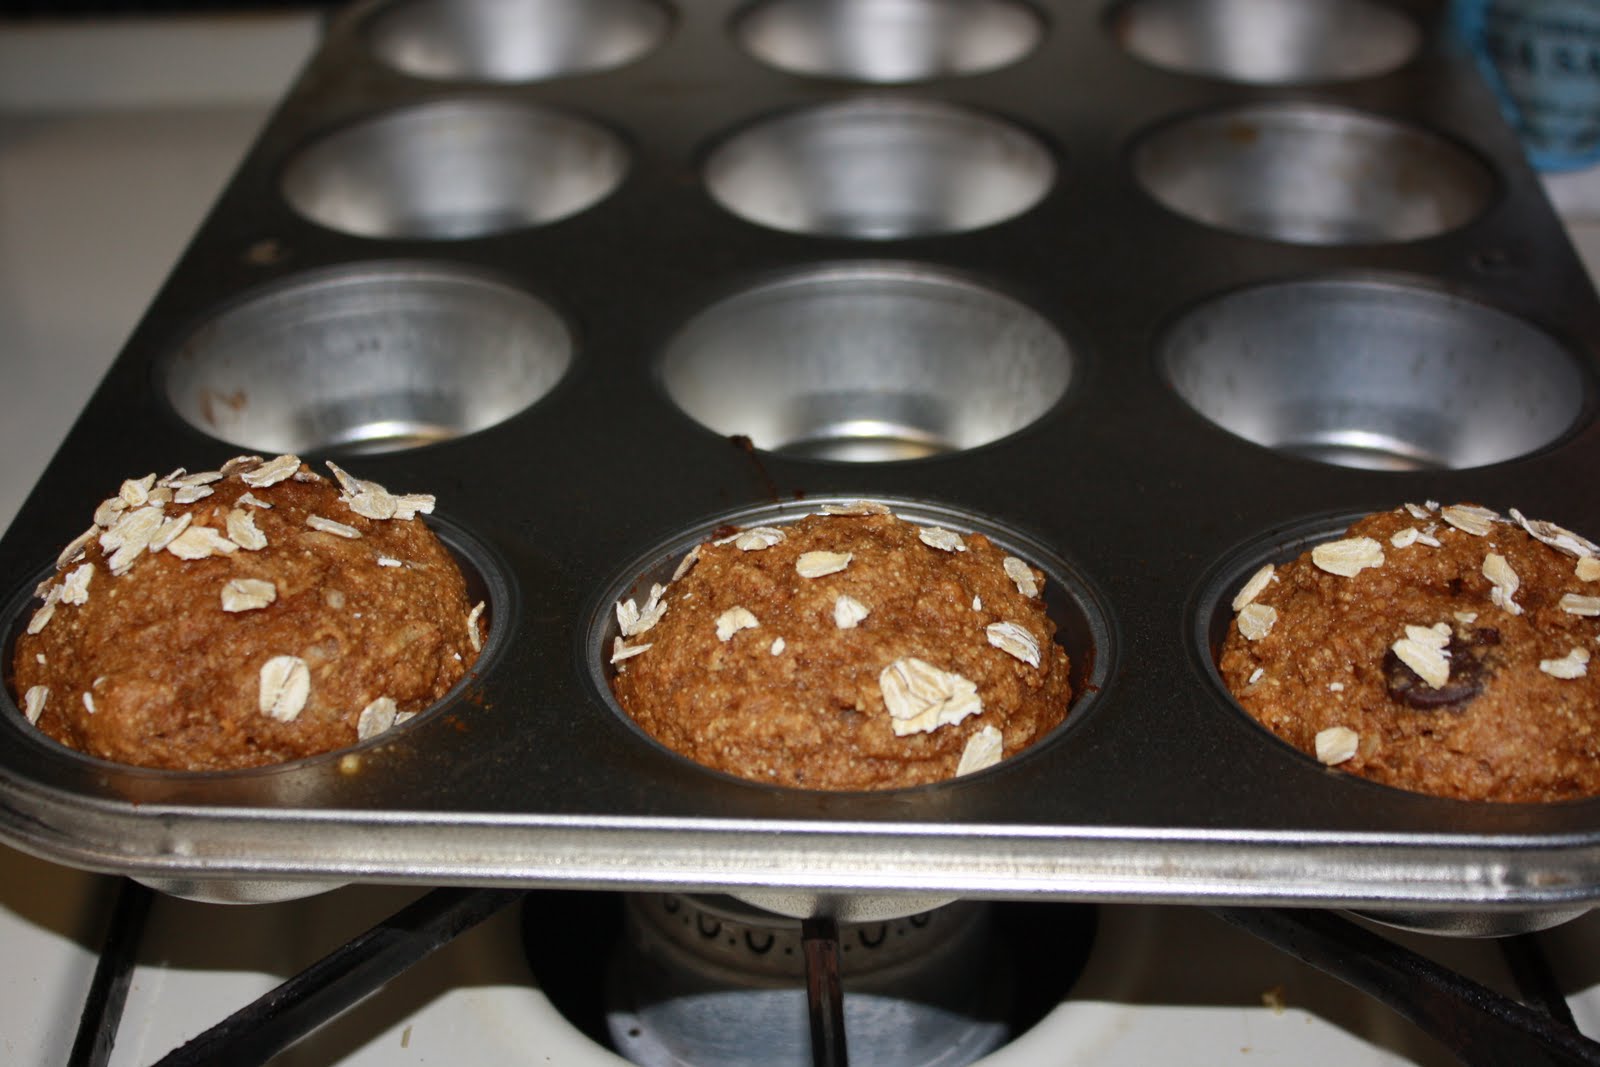
After combining the dry with the wet ingredients I scooped about a 1/3 cup of the mixture into muffin tins. I topped them with oats for a little flare


Bake at 350 degrees for about 15-20 minutes, until you can stick a fork in them and no residue comes out.



I placed the sweet potato muffins with my apple bake in dishes, one for the dinner I was going to and the other work the ladies at work :)


Close up!  


Welcome Back!

Hello Everyone! It has been a long time! Life has been beyond hectic the last few months, but don't worry I am coming back with a vengence. Last night I was invited to a friends dinner party. I offered to bring dessert! I have been contemplating trying to make an healthy verison of apple pie lately. It's one of my favorite pies, but it is pretty labor intensive. Therefore, I came up with this recipe instead. It still takes some time to do it, but the effort is worth it!

Apple Pie Bake! 


First I started off by cutting up some apples and removing the core. I left the skins on because they have extra nutrients and vitamins in them. Plus you won't be able to taste the skin because of how thinly the apples will be sliced. If you are slicing the apples by hand I would remove the skins.  After coring the apples I placed them in my electric mandolin that my mother got my for Christmas like two years ago! I completely forgot I had it, but NEW TOY!


I used phyllo dough in this recipe (forgot to take a picture of it!) Phyllo dough is really thin sheets of dough and bakes to a flaky consistency. Normally when working with phyllo dough you have to layer it with lots and lots of butter. This is to make sure it bakes to the flaky consistency you want and to add flavor. Instead of butter I used PAM cooking spray. I took a thin sheet of phyllo dough, placed it in the pan, then sprayed PAM until the dough was wet. I repeated this step 4 times and made sure to spray each layer with the PAM.


Next, I took the thinly sliced apples and layered them on top of the four slices of phyllo dough (pictured above.) I put about two layers of apples because it was they were so thin. However, if you slice them by hand only do one layer.


Next, I took:

1/2 c oats
1/2 c JR's Cinnamon Chips (pictured to the left)
1/4 c brown sugar
1/2 c walnuts
1 tsp cloves
1 tsp nutmeg

and mixed them in a small bowl. Then I took half the mixture and layered it on top of the apple (pictured right.)

I repeated the process until I had no room left in the pan. I topped the dish with its final four sheets of phyllo dough and topped the dish with a dash of cinnamon.


Preheat the oven to 350 degrees. Top the apple pie bake with aluminum foil to keep the top from burning. Bake 30 minutes covered.


Take the foil off and bake for an additional 20 minutes.


VOILA!


Once the apple pie bake has cooled, carefully remove it from the pan. I used a cookie sheet and a piece of aluminum foil and flipped the apple pie bake out of the pan (pictured below.)


I had to try a piece so I cut it open and tried a quick bite...sooooo good :)


DELICIOUS AND NUTRITIOUS! 

Monday, April 11, 2011

Dark Chocolate Muffins

So I decided to try and make my own dark chocolate muffins the other day. My friend Christina and I love the ones served at Greenberry downstairs from where we work. Needless to say they aren't the healthiest. Therefore, I created my own!


Dry:

  • 1.5 C whole wheat pastry flour
  • 1 C oats
  • 1/3 C ground flaxseed
  • 1/3 C walnuts (optional)
  • 1/8 C brown sugar
  • 2 tsp. pumpkin pie spice
  • 1 tsp. baking soda
  • 2 tbsp unsweetened dark chocolate powder


Wet:

  • 1 C apple sauce
  • 3/4 C skim milk (or dairy substitute)
  • 1/3 C pure maple syrup
  • 1 tsp. vanilla extract
  • 1 cup dark chocolate chips


Combine all dry ingredients....


And all the wet ingredients...


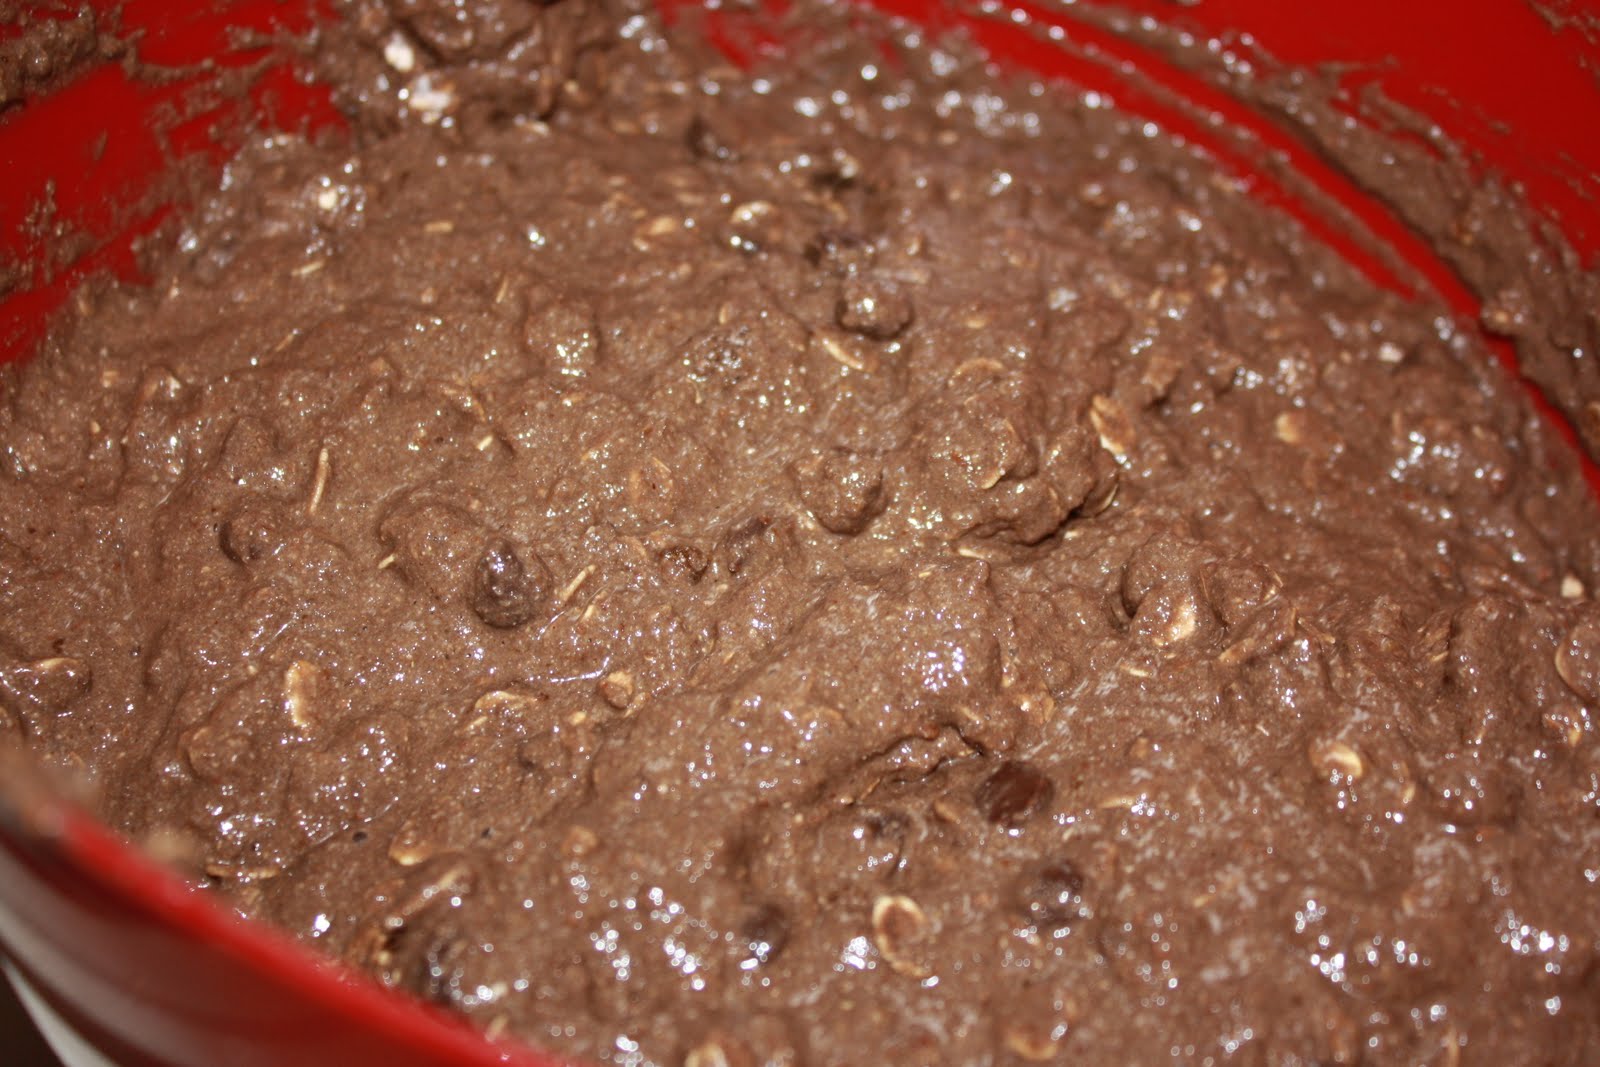
Then mix!


YUMMY


Next, place them into muffin tins. I decided to try and experiment with the mix. I made regular dark chocolate muffins then added some strawberries to some and then peanut butter to others. The way to do it is to fill half the muffin tin and then add the ingredients and then top it off with more batter.


Peanut Butter!!!


Place them in the oven at 350 degrees for 20 minutes. BEFORE...


After!

Yummy! They turned out so good.


To make them look pretty you could add some powdered sugar, coconut, or a chocolate drizzle!


Wednesday, March 23, 2011

Stuffed Chicken Three Ways

Today I had some extra time so I decided to prep some food for the rest of the week. I work from 7am-8pm tomorrow and I work all weekend so I wanted to make sure I had some good food on hand for the upcoming weekend.

I first started off with three chicken breasts and butterflied them (to the best of my ability) You butterfly chicken by taking a sharp knife and cutting it down the center. Be careful not to cut your hand (Been there, done that)


Next I wanted to flatten them out a bit. I threw the butterflied chicken breast into a ziplock bag.


I didn't have a meat clever so I just took a sauce pan and pounded the chicken breast out so they got nice and thin. If you have experienced a bad day, this is the best way to get your anger out!


Once I finished pounding the chicken out I grabbed the ingredients I was going to use to stuff the chicken. I had two different types of Goat Cheese I needed to use up so I decided to stuff one chicken breast with the herb goat cheese and the other with the cinnamon cranberry goat cheese.


The third chicken breast I stuffed with part skim ricotta and a little bit of Parmesan cheese.


The first chicken breast was stuffed with the cranberry goat cheese and some pecans.


The second one is the parmesan cheese, ricotta cheese, and some crushed red pepper flakes for a little spice.


Finally, the herb goat cheese with some fresh tomato slices.


Next try and roll the chicken breasts to the best of your ability. If you have toothpicks place them into the chicken breast to hold them together. I didn't have any so mine came a bit unraveled.


I seasoned all three chicken breasts with salt, pepper, and Italian seasoning. Next preheat a pan with a little olive oil in it. When the pan is nice and hot put the three chicken breasts in the pan and saute until browned on one side and then flip!


As you can see my last chicken breast was a bit over stuffed!

Nice and brown!


I let the chicken cook for about 5-7 minutes on each side then took them out of the pan and let them rest on a plate. Remember they will continue to cook while resting so make sure you don't overcook them or you will get some dry chicken.


While the chicken was sitting I prepared a salad with arugula and yellow bell peppers. Then I took the herb goat cheese and tomato stuffed chicken breast and sliced it up to fit on top of my salad.


YUMMMY! The tomato was all warm and the goat cheese melted. Absolutely delicious.


A great salad after a great workout (swam for an hour today and my body is killing me!)


I topped my salad with a little dressing!


The salad was fantastic and extremely filling! I wrapped the other chicken breast and plan on eating one for lunch tomorrow and one for Friday. So excited :)